
 Transferring Existing Files and Attachments into the New Notes and Files Objects
In Part I of this blogpost I covered how the familiar Notes and Attachments related list is giving way to the new, separate Notes and Files objects in Salesforce. As I said there, your Notes and Attachments are not going away, but Salesforce will be encouraging you to use the new objects moving forward. The biggest encouragement is that these new tools are more powerful and versatile than the ones they’re replacing, allowing you—for example—to see the same document from either the Contact, Account, or Opportunity objects.
In this post we’ll look at how to convert your existing Notes and Attachments to new Notes or Files. Whether you need to do this depends on how and how frequently you used these tools. Some of our clients are very conscientious about using Notes to update every interaction they have and often report on these. Such clients will want to convert to the new tools so they can gather all their information in one place. Others only use Notes to track ephemeral information about a particular call or email exchange, and after a few days the content of the Note is no longer of interest. These clients will probably be perfectly happy adopting the new tools and leaving the content of their Notes and Attachment related list in place.
There are several tools for converting to Notes or Files, but below are the best-regarded based on my research.
Salesforce Labs has created a tool on the App Exchange called Magic Mover for Notes And Attachments to Lightning Experience. Meanwhile, Salesforce whiz Douglas C. Ayers has created two tools—one for old Notes to new Notes and one for converting Attachments to Files. They are available on the site GitHub, which is not as sketchy as it sounds. In this blog I’ll review the Douglas Ayers apps.
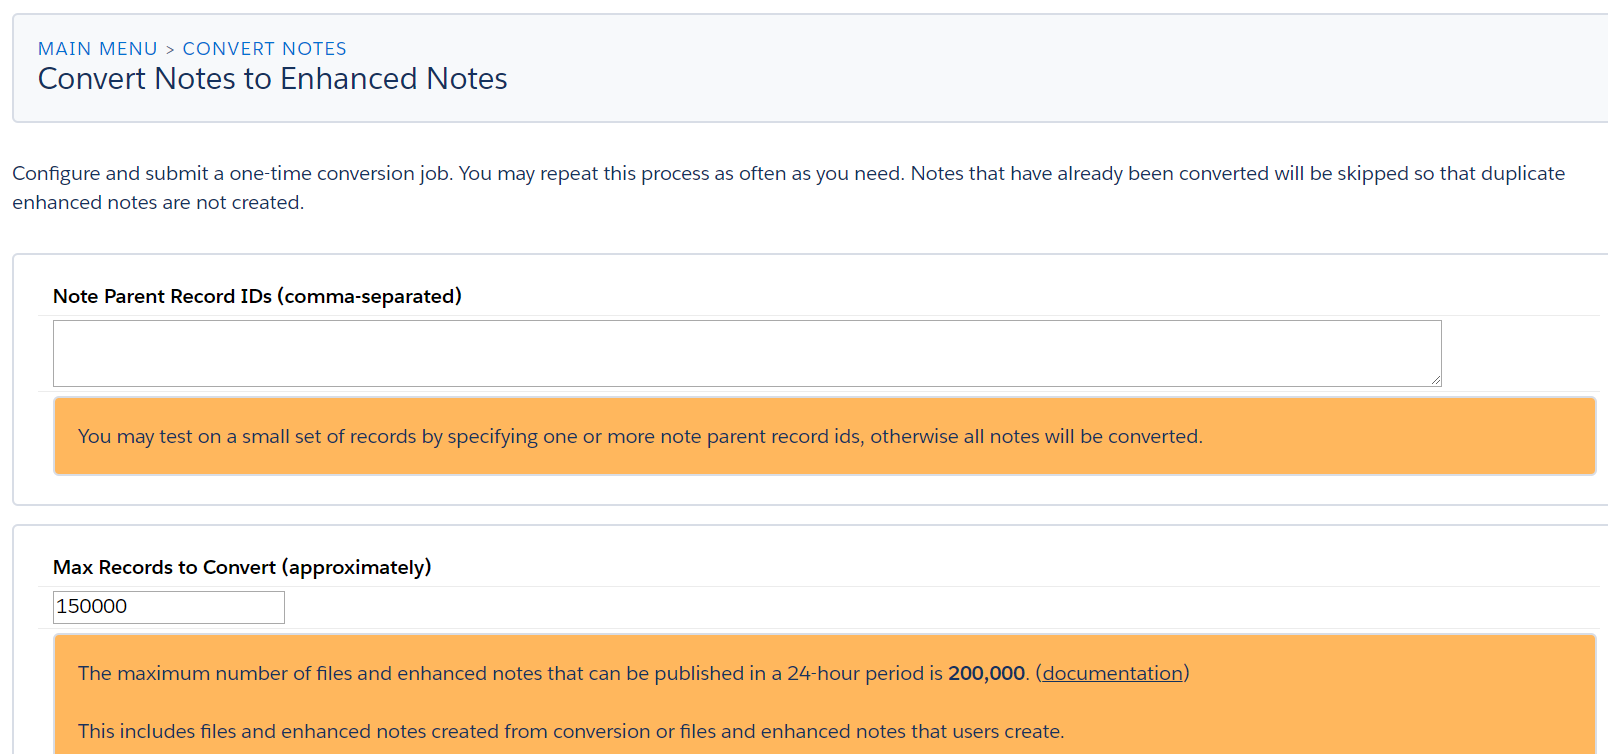
Convert Notes to Enhanced Notes
PREPARATION
Before installing the Notes and Files converters, you need to look at your instance and verify three things:
1) Do a complete Data Export
Setup >> Administer >> Data Management >> Data Export
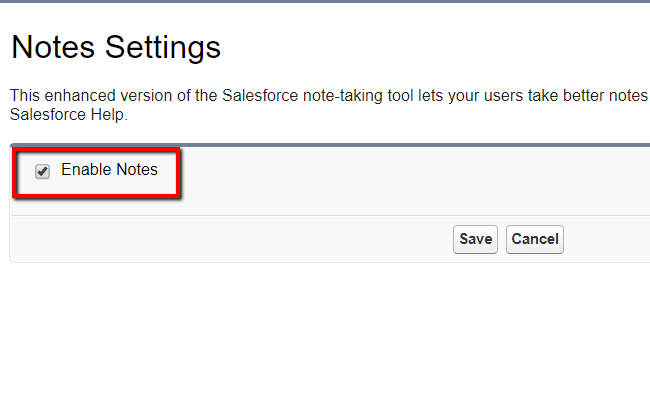
2) Enable Enhanced Notes
- Click Setup >> Build >> Customize >> Notes >> Note Settings
- Click Enable Notes
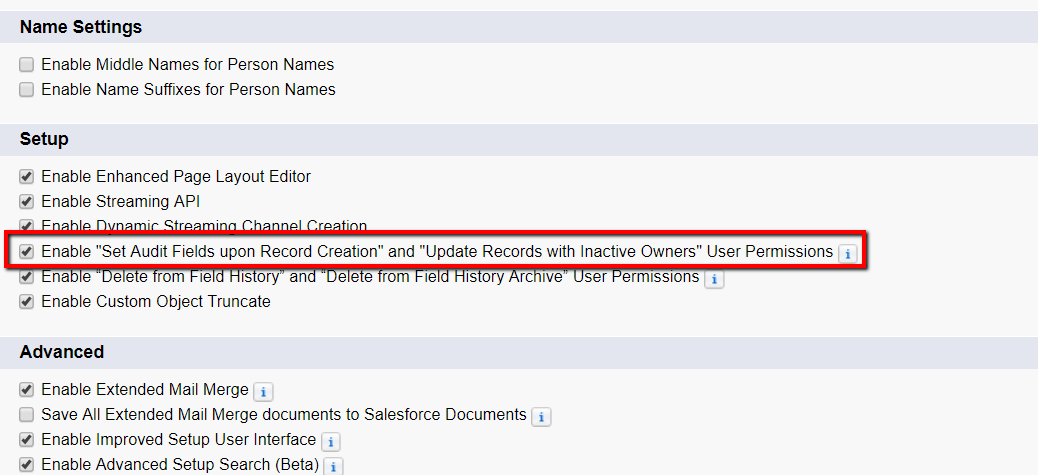
3) Interface settings
- Click Setup >> Build >> Customize >> User Interface
- Make sure the box marked “Enable Set Audit Fields Creation” is checked
DOWNLOAD THE APP
https://github.com/DouglasCAyers/sfdc-convert-notes-to-chatter-notes
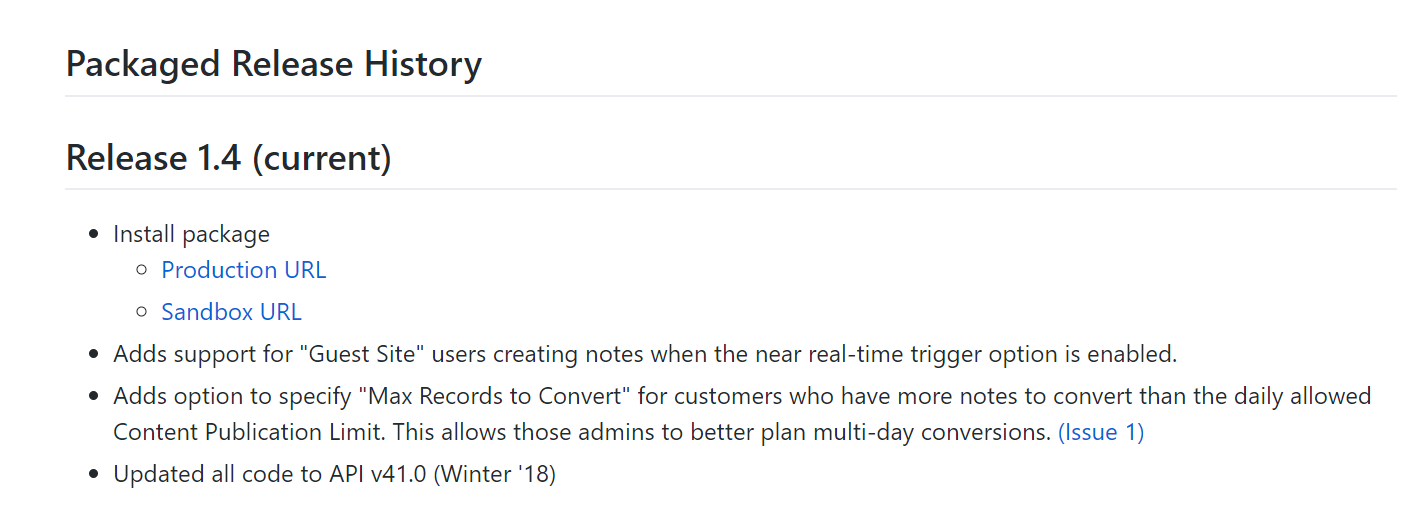
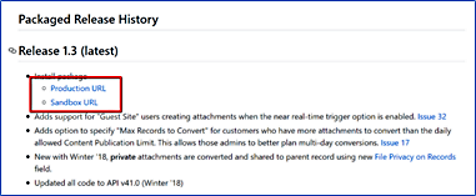
- Scroll down until you see Packaged Release History
- Verify you have the latest release
- Select Production or Sandbox depending on the Salesforce instance type you are installing it in
- (As always, we recommend installing in a Sandbox first)
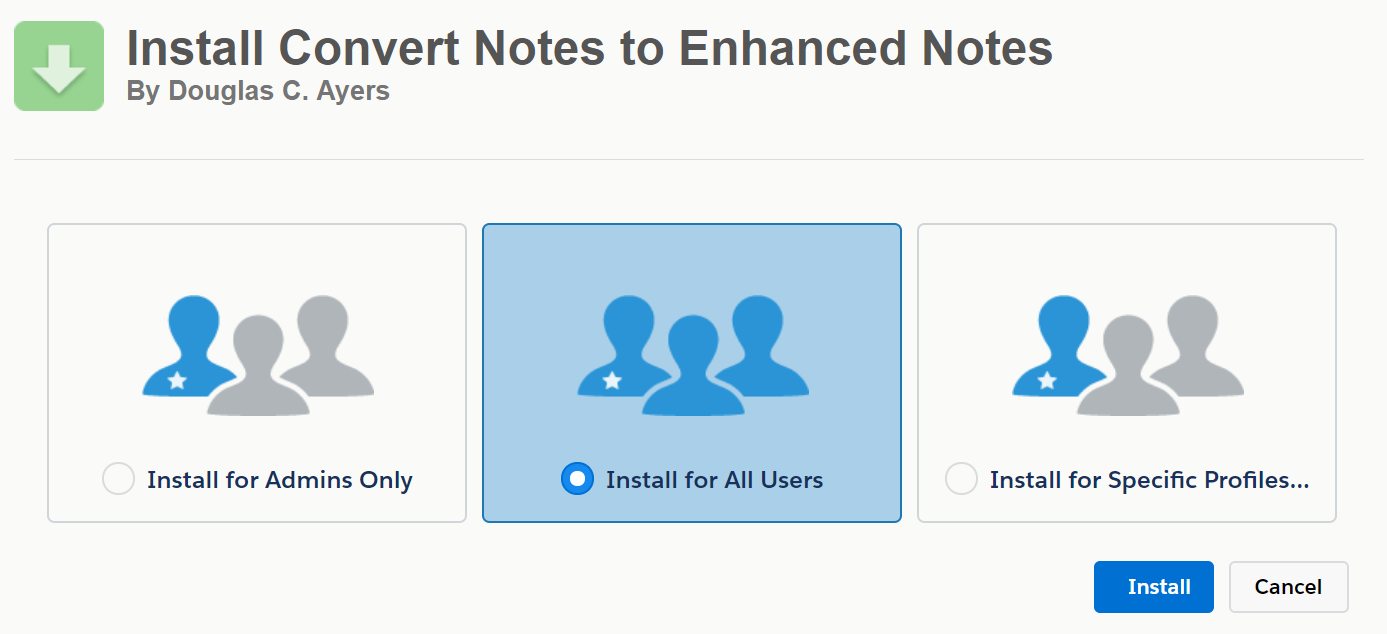
- Install for All Users
You will be notified when the installation is complete
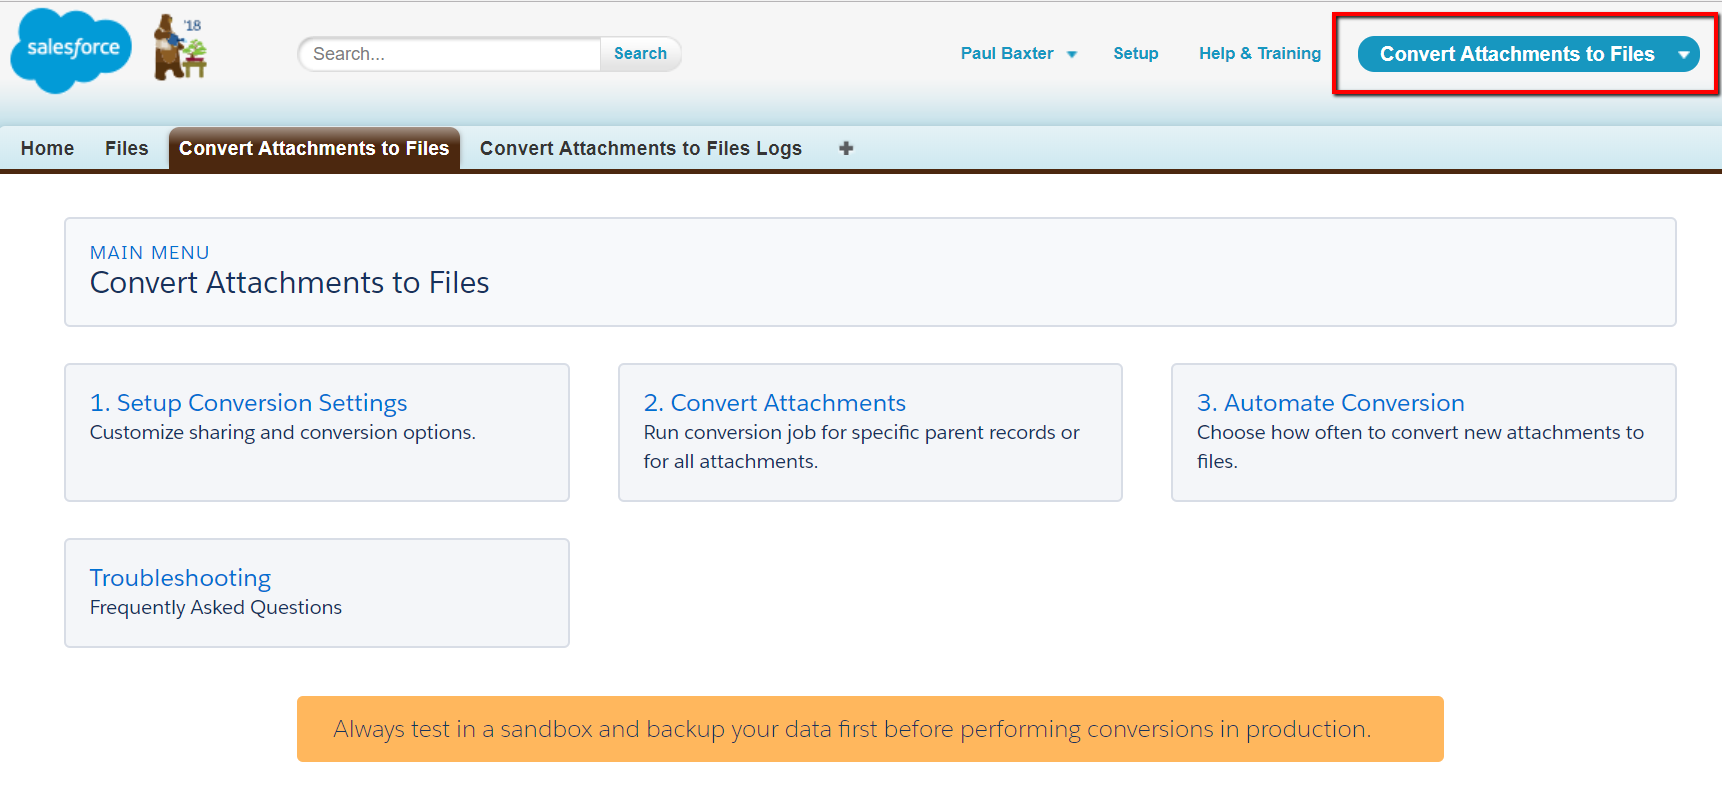
CONVERT NOTES
- Go to the App picker and select the Convert Notes to Enhanced Notes app
- Click “Setup Conversion Settings” to specify whether or not to delete the existing notes
- Click “Convert Notes” to convert existing notes; if you enter IDs into the top window, it will only convert notes related to those Contacts, Accounts or Opportunities
- If you want to continue using Notes and Attachments, click “Automate Conversion” so the notes will be continuously converted; if you start using new Notes exclusively after converting, you won’t need to do this.
Convert Attachments to Salesforce Files
PREPARATION
1) Perform a Data Export (unless you just did that)
2) If you have not already done so, update your interface settings:
- Click Setup >> Build >> Customize >> User Interface
- Make sure the box marked “Enable Set Audit Fields Creation” is checked
3) Enable Email-to-Case
- Click Setup >> Build >> Customize >> Cases >> Email to Case
- Save
DOWNLOAD THE APP
https://github.com/DouglasCAyers/sfdc-convert-attachments-to-chatter-files
- Scroll down until you see Packaged Release History
- Verify you have the latest release
- Select Production or Sandbox depending on the Salesforce instance type you are installing it in
- (As always, we recommend installing in a Sandbox first)
CONVERT ATTACHMENTS
Use the App Picker to select “Convert Attachments to Files”
- Click “Setup Conversion Settings” to specify whether or not to delete the existing notes
- Click “Convert Notes” to convert existing notes; if you enter IDs into the top window, it will only convert notes related to those Contacts, Accounts or Opportunities
- If you want to continue using Notes and Attachments, click “Automate Conversion” so the notes will be continuously converted; if you start using new Notes exclusively after converting, you won’t need to do this
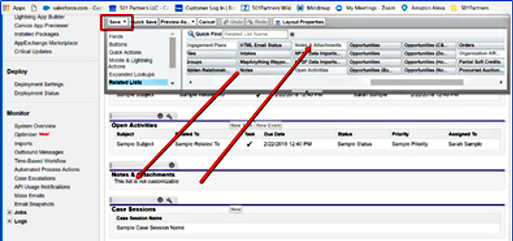
After you have converted your Notes and Attachments, you may consider removing the Notes and Attachments related list from your objects:
Closing Notes: Notes and Reporting
As we saw in Part I, Notes and Files offer many considerable advantages over Notes and Attachments. Where they may not, or not yet, offer advantages is when it comes to reporting. This may be irrelevant for many users, but if you are accustomed to creating reports to track your relationships, you may have to wait awhile before new Notes offer a practical way to do this. Oddly enough, you can create a report on what Notes you have added to records, but unfortunately the report you create cannot tell you which record a given Note is attached to.
To create a Note report:
- Click Reports
- Click New Report
- Select the Content and file Reports folder and pick Content and File Reports
- Show All Files
Now this is where things get weird.
- You will notice that NO records will appear, even though you could SWEAR you have Notes
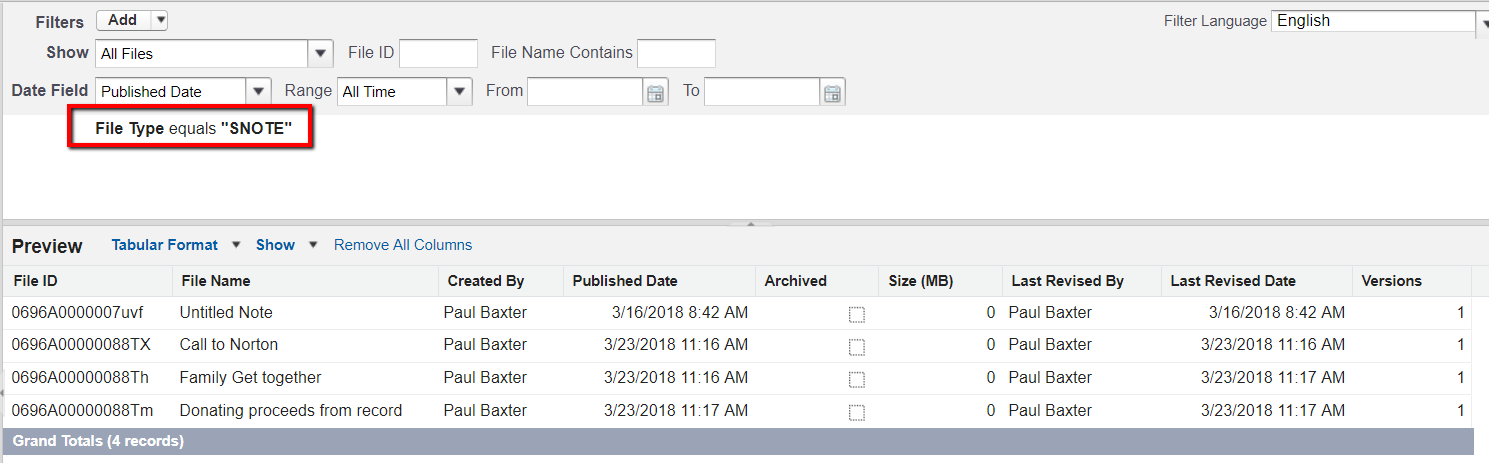
- Click Remove All Columns
- Add back ONLY any or all of the following fieldnames (depending on your own needs):
- File ID
- File Name
- Created By
- Published Date
- Archived
- Size (MB)
- Last Revised By
- Versions
- Create a filter: File Type equals “SNOTE” so that only new Notes appear
- Do NOT include any of the following fields or the records will disappear:
- Downloaded By
- Download Date
- Download User Type
- Link Name
- Link Created Date
- Link Expiration Date
- Password Protected Link
- Link Last Accessed Date
- Total Link Accesses
- Save and Run the report
For more comprehensive reporting requirements, clients may want to use Activities rather than Notes. Activities can be reported by date and Contact, Account, or Opportunity.
